How to Upgrade an EPiServer CMS 5 Site to CMS 6
The EPiServer Deployment Center can be used to upgrade an EPiServer CMS 5 R2 SP2 site to CMS 6. The upgrade process is quite simple and converts the site content, settings, and form data, in place, from the old format to the new. The upgrade process upgrades the EPiServer user interface, assemblies, and converts database objects and data as needed.
If you have multiple sites, each site can be upgraded one at a time as long as they are in separate CMS instances / databases. If you are running an enterprise configuration where multiple sites are managed from the same CMS instance / database, all of the sites will be upgraded at the same time.
The EPiServer Deployment Center will take care of upgrading the content and the EPiServer components, but it is strongly recommended that you thoroughly test your Page Templates, Dynamic Content, Plug-ins, and any other modules that reference the EPiServer API or web services to ensure that there are no compatibility issues with the latest version.
For more details on what the upgrade process does, check out Per Bjurström’s blog entry, Upgrading to CMS 6 RC1.
Upgrading an EPiServer CMS 5 R2 SP2 site to CMS 6.0
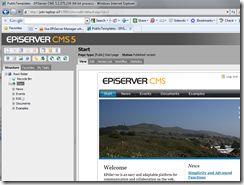
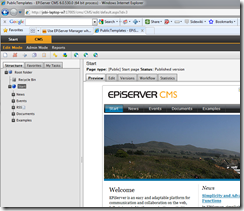
The image below depicts the CMS 5 R2 SP2 site prior to the upgrade.
1. Launch the EPiServer Deployment Center.
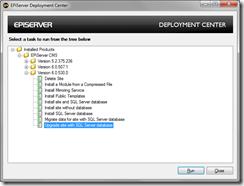
2. Navigate the tree to Installed Products > EPiServer CMS > Version 6.0.530.0.
3. Select Upgrade Site with SQL Server database.
4. Click the Run button.
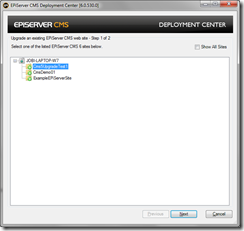
5. On the Upgrade an existing EPiServer web site – Step 1 of 2 dialog, select the CMS 5 site that you wish to upgrade.
6. Click the Next button.
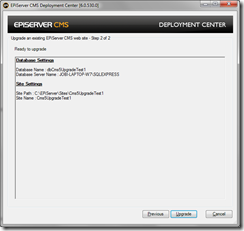
7. Verify your settings on the Upgrade an existing EPiServer web site – Step 2 of 2 dialog, and click the Upgrade button.
8. The EPiServer Deployment Center progress dialog will be displayed showing the progress of the upgrade. Click the Close button when it has finished.
9. Close the EPiServer Deployment Center.
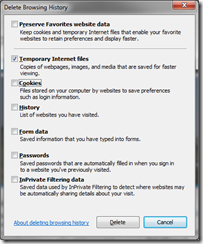
10. Clear your temporary internet files as many of the Edit and Admin Mode images from CMS 5 will be cached in Internet Explorer.
11. Navigate to the upgraded site to verify the upgrade.


Comments