")
SaaS CMS - Self-hosting Presentation Layer with Coolify
Introduction
In my previous post, I explored the hosting options for the Hybrid Headless/Fully Headless presentation layer (frontend) using Netlify and Vercel. These platforms are my top recommendations due to their ease of use and feature-rich offerings. However, there are situations where they may not entirely meet your needs, or their pricing models might pose challenges.
If you're looking for more control over your hosting costs, self-hosting is a viable third option, whether on physical servers or virtual private servers (VPS). To make the self-hosting process more manageable, I’ve created a proof of concept using Coolify. Coolify is an open-source project that simplifies server configuration for hosting your frontends with minimal effort. It offers many of the same features as Vercel and Netlify, but without the associated costs.
Here are some of Coolify's standout features:
- Language Agnostic: Supports a wide range of programming languages and frameworks, including Next.js.
- Flexible Deployment: Can be deployed on any resource, including your own servers, VPS, EC2, and DigitalOcean—all you need is an SSH connection.
- Push to Deploy: Easily deploy by pointing to any Git repository.
- PR/Commit Deployments: Automatically deploy new commits and pull requests.
- Additional Features:
- SSL certificates
- Automatic backups
- Webhooks
- API-first approach
- Collaboration tools
- Monitoring and notifications
Azure Example
Coolify offers flexible installation and configuration options, allowing deployment on virtually any environment. For full documentation, you can refer to Coolify's official guide.
For this example, I chose to test Coolify on a Linux (Ubuntu 24.04) Virtual Machine. The setup process in Azure is straightforward, so I won't dive into each setup step, but here’s a quick overview of my configuration below:
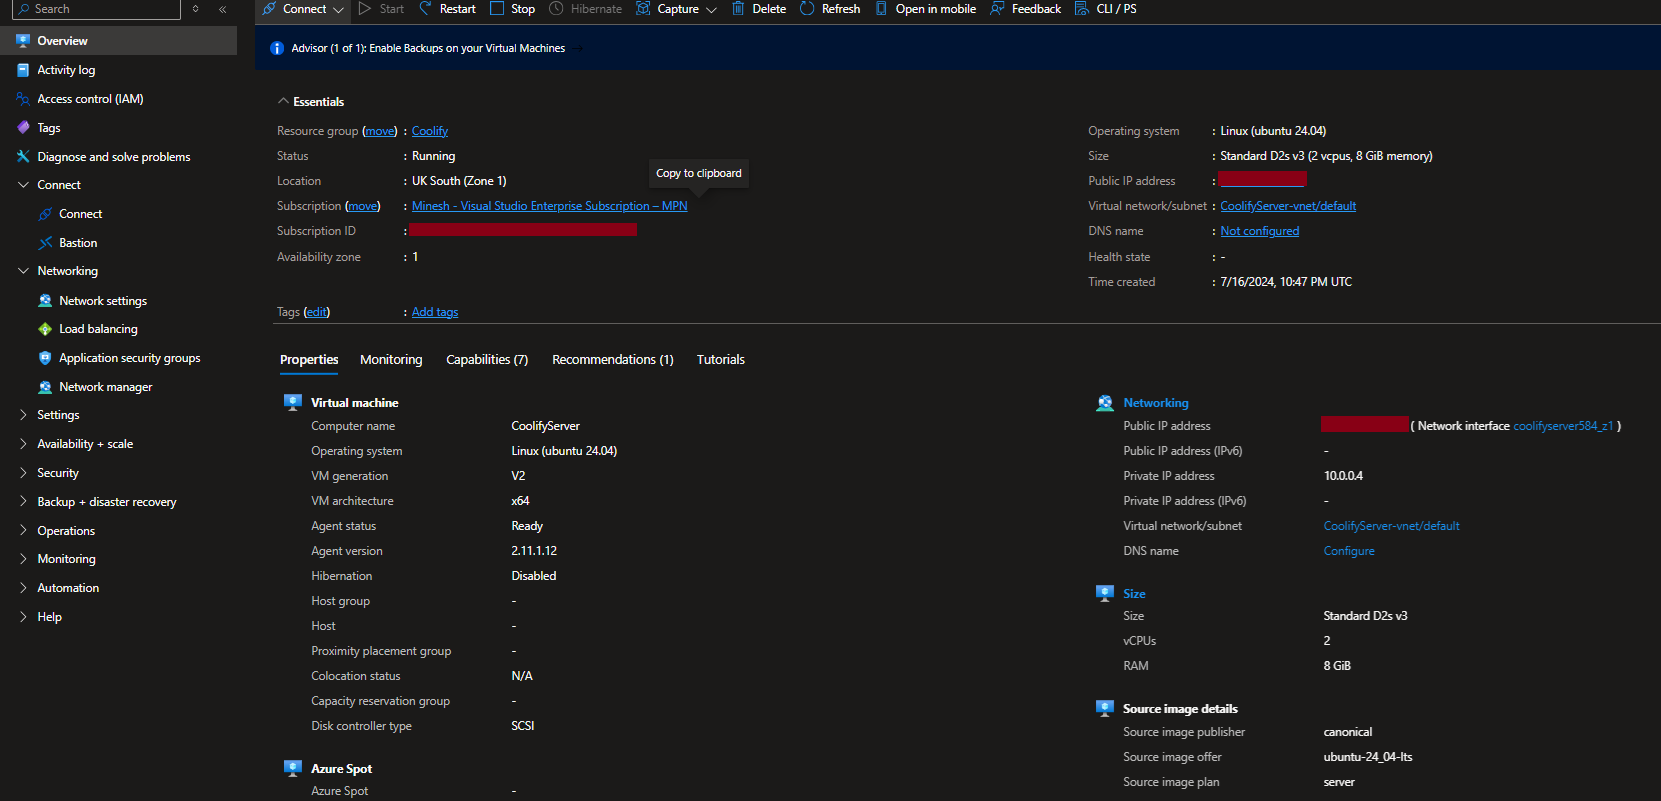
I also had to open a few ports to allow for communication to and from the virtual machine. This was for both setup purposes and public site access (I was adding these as and when required).
- Port 22 for SSH Access
- Port 8000 for initial Coolify server Access
- Port 80 for Public HTTP Access
- Port 443 for Public HTTPS Access

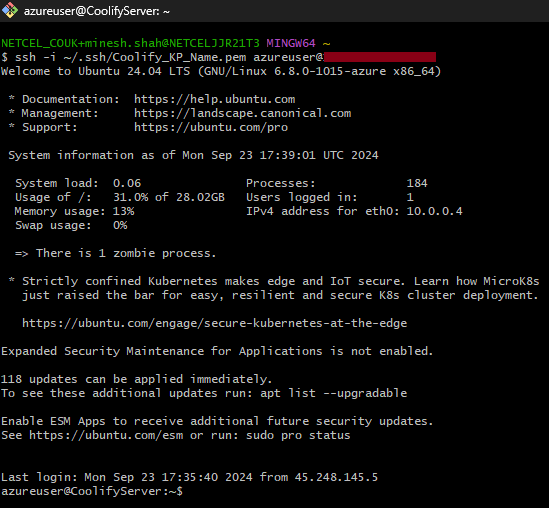
Once my virtual machine was configured, I made an SSH connection. You can connect either via the Azure Portal or using your favorite terminal.
Install and Configure Coolify
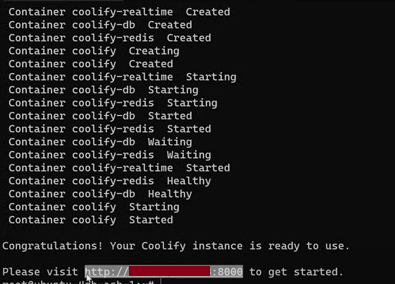
Once connected via SSH, the installation of Coolify was simple. Running the following command started the process:
curl -fsSL https://cdn.coollabs.io/coolify/install.sh | bashThis installs Docker and runs the Coolify image. The entire process took about 5 minutes. After installation, Coolify provides a URL to complete the configuration. Once I registered, I was taken to the Coolify dashboard, ready to create a new project.
Domain Configuration
To make access easier, I connected a domain to my server. I used an existing domain from Fasthosts and made simple DNS changes by adding two A Records (@ and *), pointing them to my server’s public IP address.
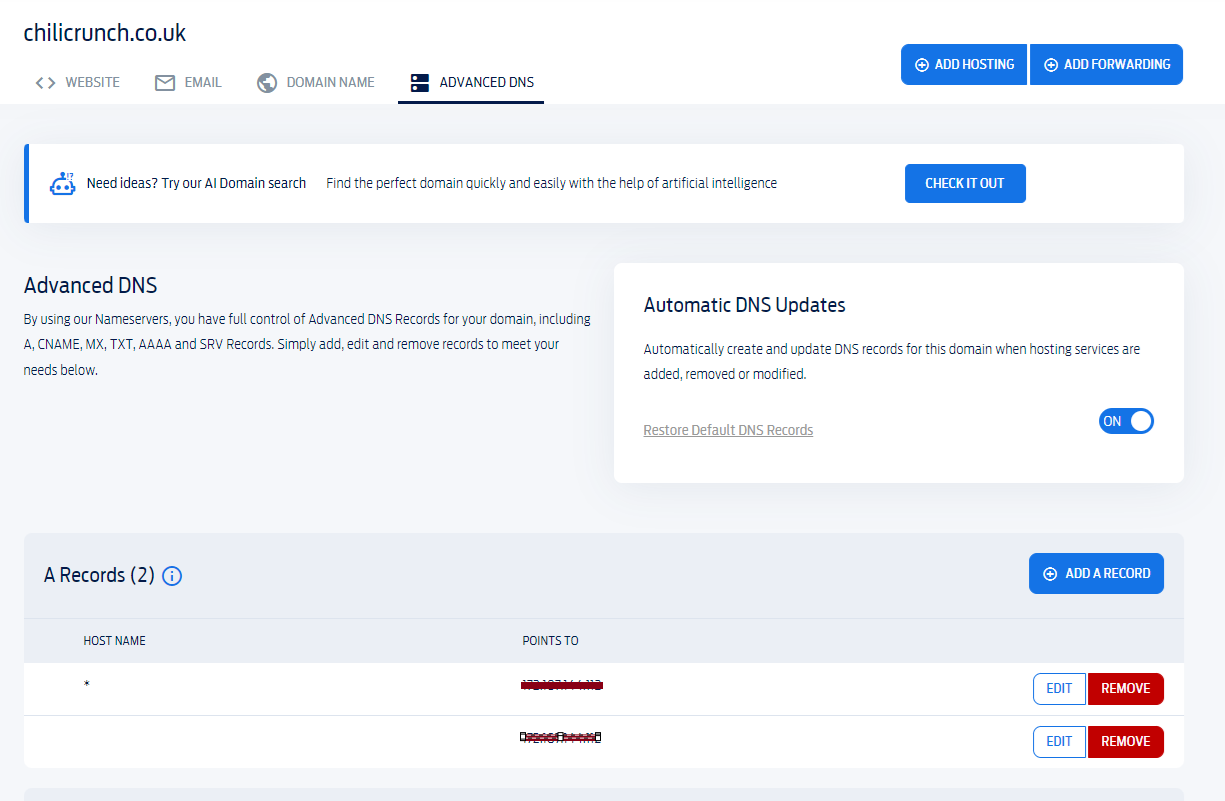
In Coolify’s settings, I configured the domain name for the control panel at http://coolify.chillicrunch.co.uk. I also set up Wildcard Subdomains to allow deployments to URLs like https://<my-project-name>.chilicrunch.co.uk/, similar to how Netlify and Vercel manage deployments.
This was done by navigating to Servers > General and adjusting the settings.


Connecting to Git Hub Repo
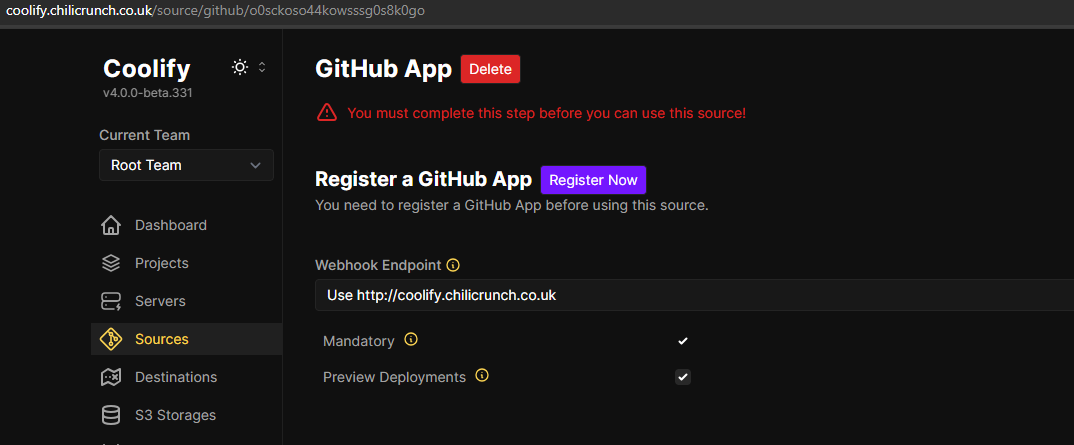
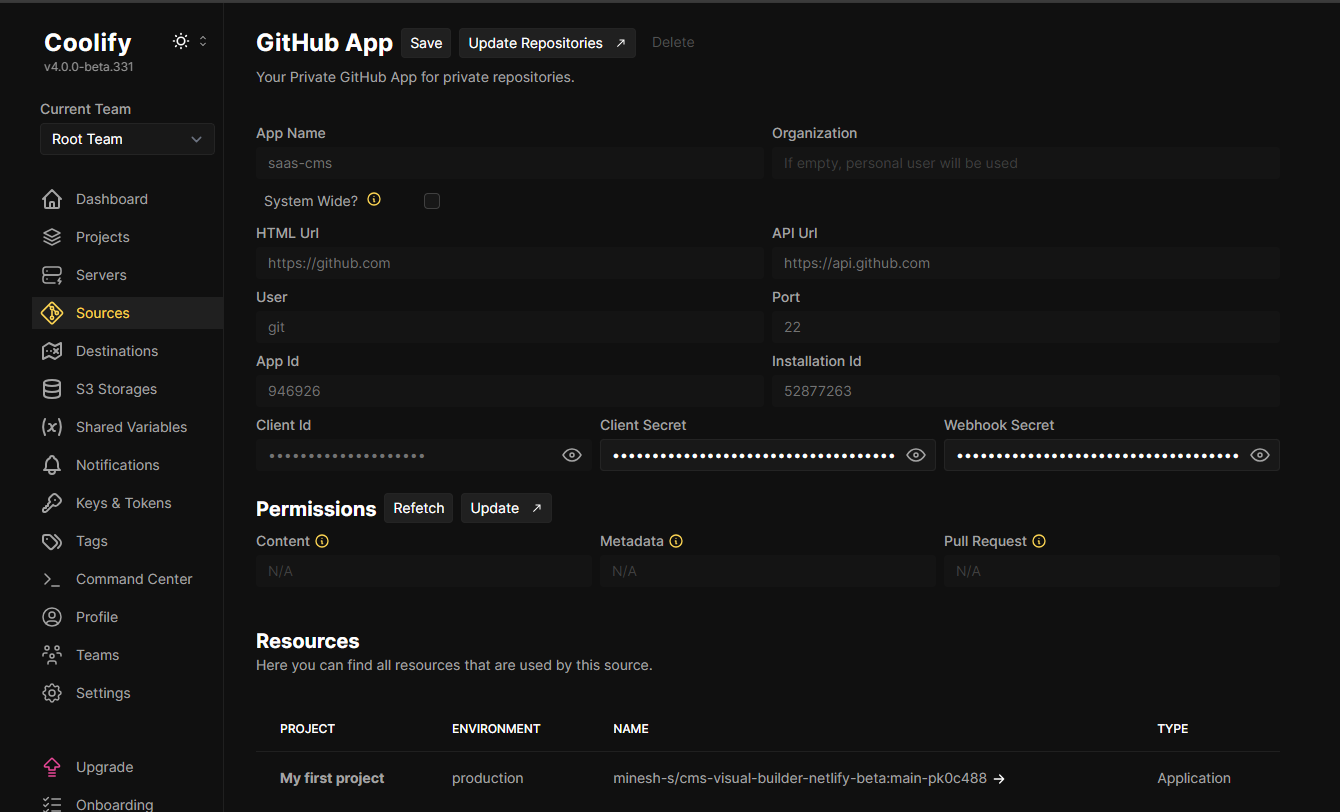
To enable continuous deployment, I connected Coolify to my private GitHub repository. Coolify supports several Git sources, but for this example, I used GitHub. You can add your GitHub repo by navigating to Sources and clicking Add. The process requires setting up Client ID, Secret, and Webhook Secret, which are generated during the setup.

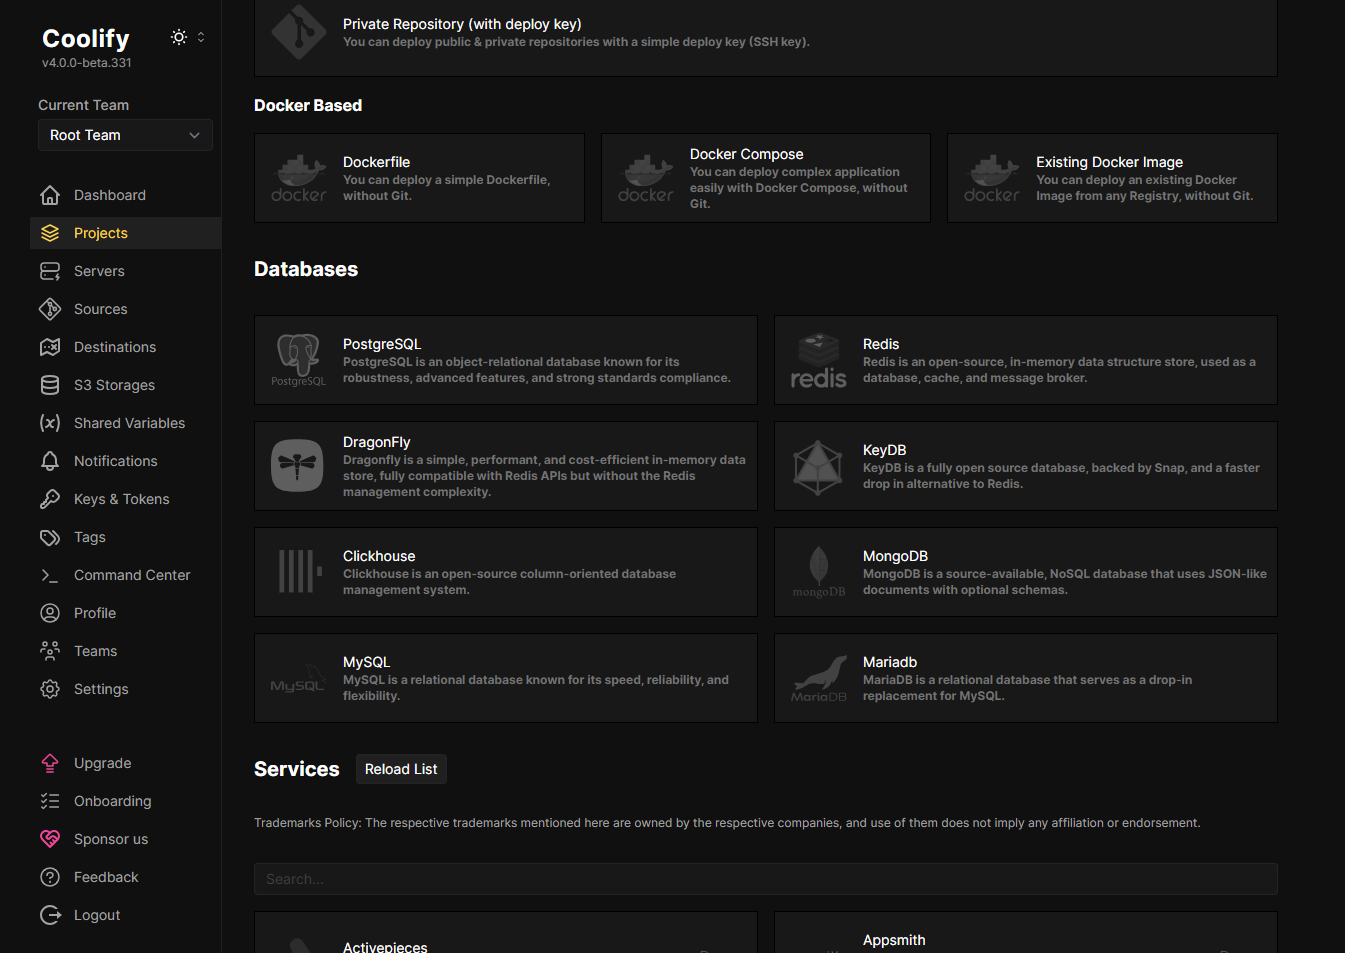
Adding a new Project
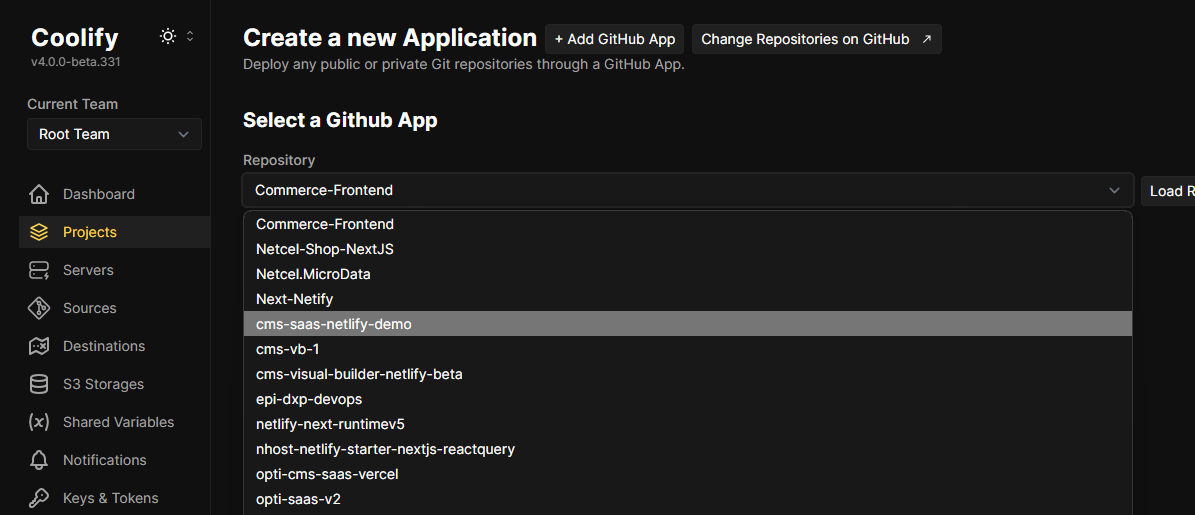
With the Git connection established, I was able to add my first project. In the Projects section, I clicked New, provided a name and description, then selected the Git repo I wanted to deploy.
The deployment process took about 3 minutes. Thanks to the wildcard subdomains setup, the subdomain was automatically configured. I also added the necessary environment variables for my project. You can find more details on this process in this video.
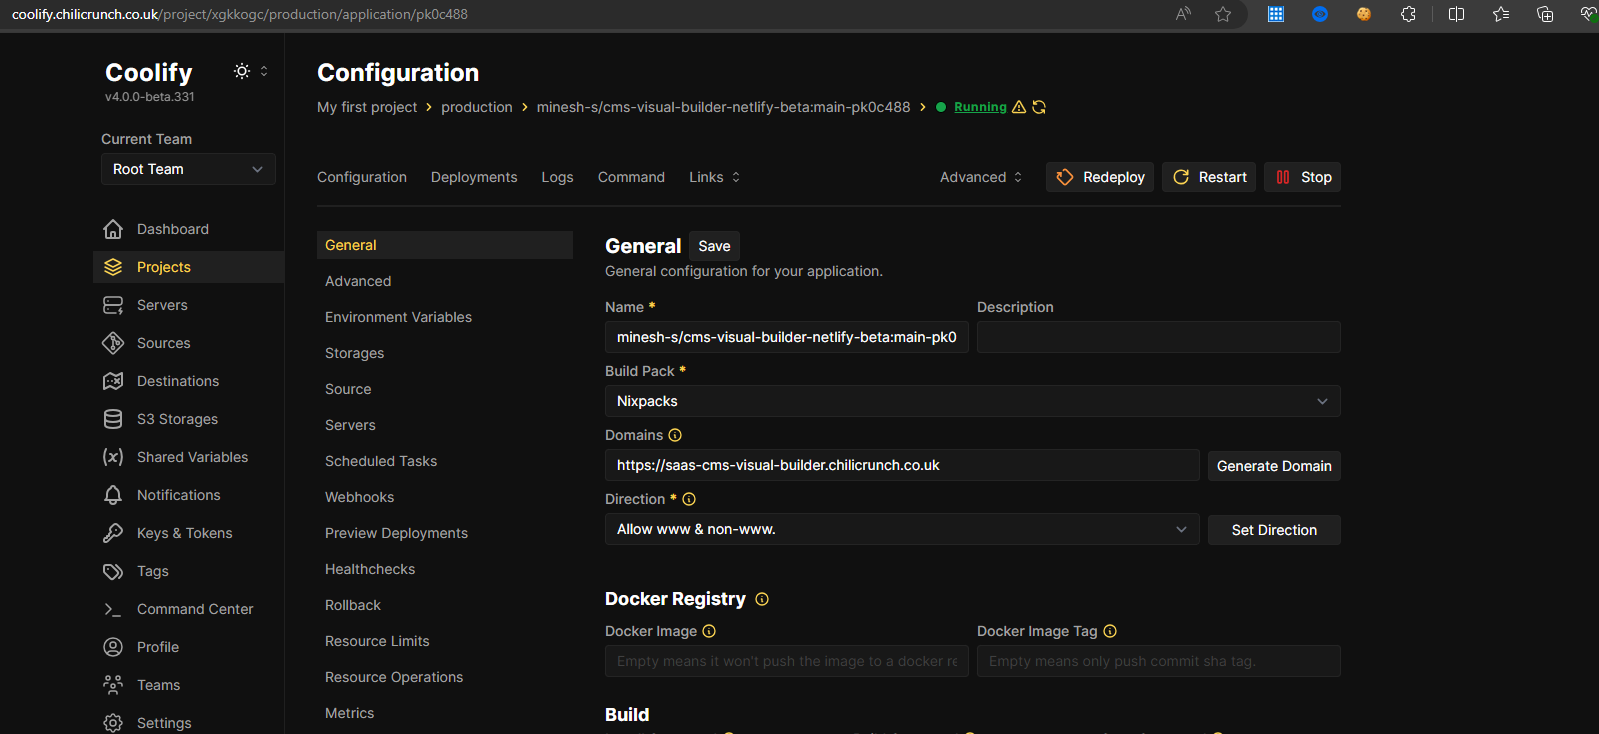
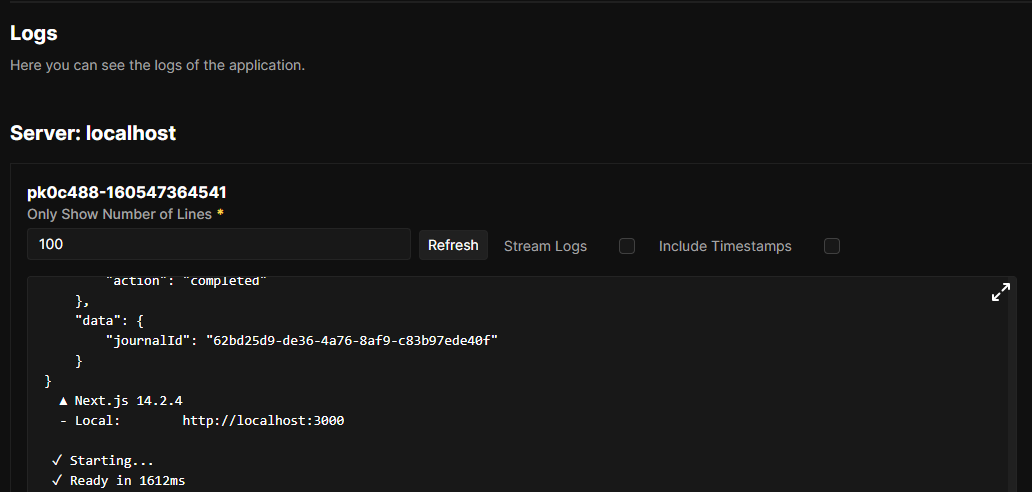
With everything in place, my website was live: https://saas-cms-visual-builder.chilicrunch.co.uk/

Conclusion
Setting up Coolify on an Azure Virtual Machine was smooth and straightforward. As you can see, it's easy to get Coolify up and running on your private servers with minimal effort, making it a cost-effective alternative to traditional hosting platforms like Vercel and Netlify.
Comments