
Creating a React widget for Episerver CMS
I'm not a React.JS expert so there is a risk that I haven't written the best React code in this blog post!
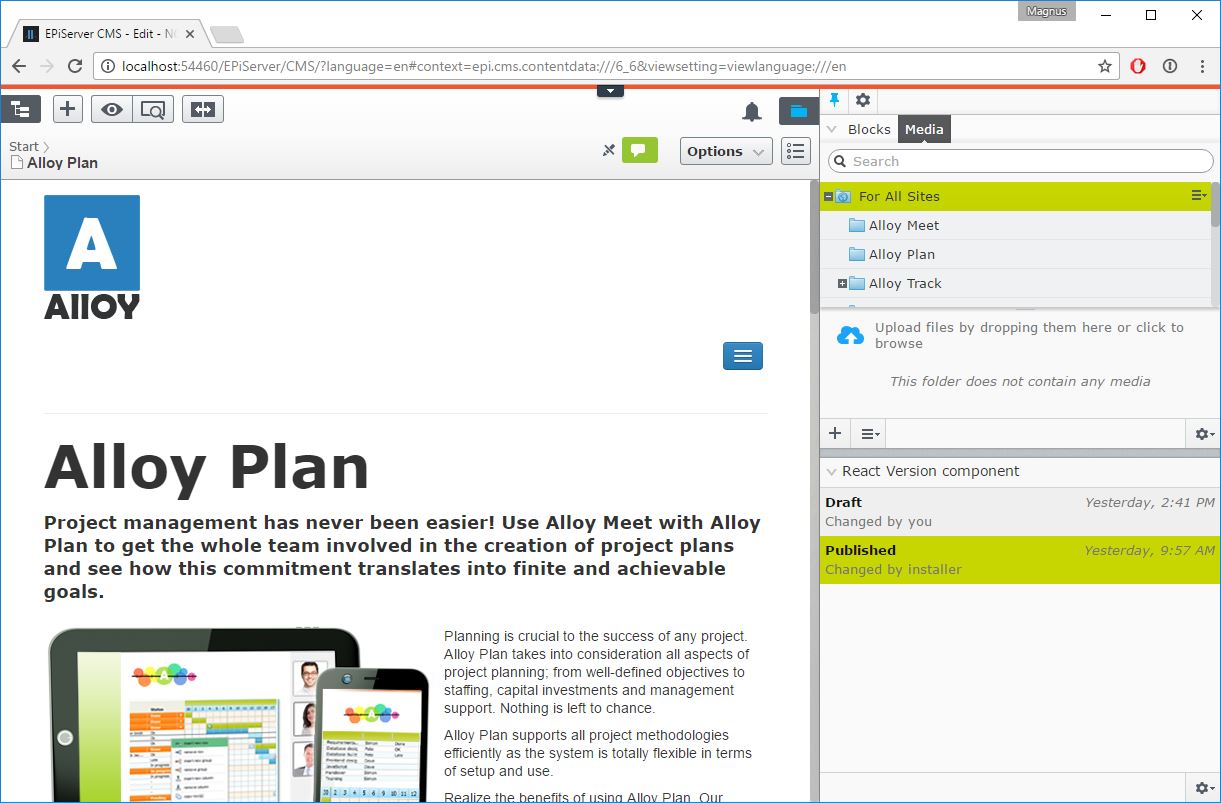
We will be creating a new Version Listing widget in Alloy CMS that automatically lists the versions of the current context.
The source code can be found at github: https://github.com/episerver/sample-react-version-list
Setting up react in the solution
- Download react.js and rect-dom.js
- Create a new folder under ClientResources called react
- Rename react.js to main.js and copy to react
- Copy react-dom.js to react
- In module.config add a dojo package map to the new react folder
<dojo>
    ...
    <packages>
        <add name="react" location="react" />
    </packages>
    ...
</dojo>
6. And while we are modifying the module.config we can tell the system to load a specific CSS file as well. You can see the full source code for the Css file at the end of the blog post.
<clientResources>
    ...
    <add name="epi-cms.widgets.base" path="Styles/VersionList.css" resourceType="Style"/>
    ...
</clientResources>
Install required node modules
You need to have Node, NPM and GULP installed on your machine In the solution run npm init and enter the values for you solution to make sure you have a package.json file.
Install the required node modules:
npm install babel-plugin-add-module-exports babel-preset-es2015 babel-preset-react gulp gulp-babel gulp-rename --save-devSetup GULP build pipeline
Sadly we can't just use the es2015 preset in gulp because the module plugins automatically loads the strict mode plugin that adds the "use strict" in the code and Dojo does not work in strict mode. So instead we need to defined all the plugins we want to use.
Note: I won't go into the details of the gulpfile
var gulp = require('gulp');
    rename = require('gulp-rename'),
    babel = require('gulp-babel');

gulp.task('react', function () {
    return gulp.src(['ClientResources/**/*.jsx'], { base: './' })
        .pipe(babel({
            presets: [
                ["react"]
            ],
            "plugins": [
                "babel-plugin-transform-es2015-template-literals",
                "babel-plugin-transform-es2015-literals",
                "babel-plugin-transform-es2015-function-name",
                "babel-plugin-transform-es2015-arrow-functions",
                "babel-plugin-transform-es2015-block-scoped-functions",
                "babel-plugin-transform-es2015-classes",
                "babel-plugin-transform-es2015-object-super",
                "babel-plugin-transform-es2015-shorthand-properties",
                "babel-plugin-transform-es2015-duplicate-keys",
                "babel-plugin-transform-es2015-computed-properties",
                "babel-plugin-transform-es2015-for-of",
                "babel-plugin-transform-es2015-sticky-regex",
                "babel-plugin-transform-es2015-unicode-regex",
                "babel-plugin-check-es2015-constants",
                "babel-plugin-transform-es2015-spread",
                "babel-plugin-transform-es2015-parameters",
                "babel-plugin-transform-es2015-destructuring",
                "babel-plugin-transform-es2015-block-scoping",
                "babel-plugin-transform-es2015-typeof-symbol",
                "add-module-exports",
                ["babel-plugin-transform-es2015-modules-amd", {strict: false}], //strict: false is important!
                "babel-plugin-transform-regenerator"
            ]
        }))
        .pipe(rename(function(path) {
            extname: ".js"
        }))
        .pipe(gulp.dest('./'));
});

gulp.task('watch', function () {
    gulp.watch(['ClientResources/**/*.jsx'], ['react']);
});

gulp.task('default', ['react']);
run gulp react to build a .js file that Dojo can load. It is not integrated in the visual studio build pipeline!
Now we have all the pre-requisits to start develop our new React Widget
Implement the Widget
I focus on how to glue react togehter with Epi.
We have added the babel AMD transformation plugin so we will be createing the widget using the ES 2015 module syntax. (If you need to use our or dojos AMD plugins you can't use the new module syntax, then you are stuck with the AMD syntax).
First we will create the server side component definition of the new version component.
using EPiServer.Shell.ViewComposition;

namespace Alloy
{
    [Component(
       WidgetType = "alloy/VersionList",
       Categories = "content", Title = "React Version component"
   )]
    public class VersionsComponent { }
}
After that we need to create the JS file and put it in the correct location, create a new VersionList.jsx file under the ClientResurce/Scripts folder. (The .jsx file will be transpiled into an AMD module in the same location as the .JSX file but with a new .JS extension).
The glue between React and Dijit (Dojo)
As we are using Dijit in epi we (dijit) requires that widgets implement a certain interface, which React do not implement, but luckily React only requires a domNode, and the easies way to get a Dijit with a domNode is to inherit from dijit/_WidgetBase and then in the buildRendering method (when the domNode has been created) render the React component.
declare([_WidgetBase], {
    buildRendering: function() {
        this.inherited(arguments);

        // Create the react component when dijit has created the domNode
        this.reactComponent = ReactDom.render(React.createFactory(VersionList)({}), this.domNode);
    }
});
This is pretty much all that is needed to render a React component in a Dijit Widget.
Connect the React widget with epi cms context changes
As I said earlier we are going to listen to context changes and then re-render the version list. To be able to do that we need to import a few dependencies.
// Dojo/Dijit dependencies
import aspect from "dojo/aspect";
import declare from "dojo/_base/declare";
import when from "dojo/when";
import topic from "dojo/topic";
import _WidgetBase from "dijit/_WidgetBase";

// epi dependencies
import ContentReference from "epi-cms/core/ContentReference";
import formatters from "epi-cms/dgrid/formatters";
import epiUsername from "epi/username";
import epiDate from "epi/datetime";
import _ContentContextMixin from "epi-cms/_ContentContextMixin"; // For context changes
import dependency from "epi/dependency"; //To get hold of the data store

// React dependencies
import React from "react";
import ReactDom from "react/react-dom";
And then when the React component has been mounted in the DOM we will hookup a aspect.after on a context object, and when the context changes we will fetch the versions from the store and set the versions on the component.
The component also does some cleanup when removed from the DOM.
let VersionList = React.createClass({
    getInitialState () {
        return {
            versions: [],
            selectedVersion: null
        };
    },
    componentWillMount () {

        // Hook up the epi dependencies when the component is mounted
        let registry = dependency.resolve("epi.storeregistry");
        this._store = registry.get("epi.cms.contentversion");
        this._contextMixin = new _ContentContextMixin();

        // Listen to context changes in the system and get new data when it has changed
        this.handle = aspect.after(this._contextMixin, "contextChanged", () => {
            this.updateData();
        });
    },
    componentWillUnmount () {

        // remove the aspect handle
        this.handle.remove();
        this.handle = null;

        // Destroy the epi depdenencies
        this._contextMixin.destroy();
        this._contextMixin = null;
    },
    updateData () {

        // Get the content data for the current context
        when(this._contextMixin.getCurrentContent()).then((content)=> {
            let query = {
                contentLink: new ContentReference(content.contentLink).createVersionUnspecificReference().toString()
            };
            // Ask the store for new data based on the current context
            when(this._store.query(query)).then((versions)=> {
                // Set the versions
                this.setState({versions: versions});
            });
        });
    },
    componentDidMount () {
        this.updateData();
    },

    selectVersion (version) {
        this.setState({
            selectedVersion: version
        });

        // When someone clicks on the version in the list we should navigate to that item
        // and we do that by publishing a context request change
        topic.publish("/epi/shell/context/request", { uri: "epi.cms.contentdata:///" + version.contentLink }, {forceReload: true, sender: this});
    },

    render () {
        let selectedVersion = this.state.selectedVersion;
        return (
            <ul className="react-versionlist">
                {
                    this.state.versions.map(function(version) {
                        var isSelected = selectedVersion && version.contentLink == selectedVersion.contentLink;
                        return <Version version={version} isSelected={isSelected} selectVersion={this.selectVersion} key={version.contentLink}/>
                    }.bind(this))
                }
            </ul>
            );
    }
});
That is the short version on how you can create Dijit widget that renders a React Component in Episerver CMS. Have a look at the full source code of the .jsx file to see how to do cleanup when the widget is destroyed, it also contains the code for the Version React component.
Comments