
Adding a requirejs block to your site
Do you love require.js? who don't!
There are some reasons:
- In a large application a lot of JavaScript files are needed, and each script tag needs a request.
- You have to put them in a same order in which they are called, i.e. File which is dependent on other should be loaded after the dependent ones.
Well that's an overview but I'm not going to talk about it. This blog post is about adding a require block from episerver itself.
What we'll be creating?
A block, A partial view and couple of requireJS configurations and nothing else..
Before beginnging to first step, Please make sure you've downloaded javascript library of require.js. You can find it here
In the end of this blog post our result would look like this -
Step 1 - Let's start with the configuration of require.js
Begin with configuring your javascript libraries by defining their paths with require.config method. I call this file main.js and it looks something like this. Ofcourse you can remove unwanted scripts.
require.config({
    baseUrl: "/Static",
    paths: {
        'jquery': '/Static/js/jquery',
        'jquery_validate': '/Static/js/jquery.validate',
        'jquery_validate_unobtrusive': '/Static/js/jquery.validate.unobtrusive',
        'bootstrap': '/Static/js/bootstrap',
        'utils': '/Areas/Country/Static/js/App/utils',
        'imagesloaded': '/Static/js/imagesloaded.pkgd.min',
        'jQueryBridget': '/Static/js/jquery-bridget',
        'masonry': '/Static/js/masonry.pkgd.min',
        'jquery_mask': '/Static/js/jquery.maskedinput',
        'bootstrap-dialog': '/Static/js/bootstrap-dialog',
        'bxslider':'/Areas/Country/Static/js/App/jquery.bxslider.min'
    },
    waitSeconds: 0,
    shim: {
        "jquery.validate": {
            'deps': ['jquery'],
            'exports': 'validate'
        },
        "jquery.validate.unobtrusive": {
            'deps': ['jquery', 'jquery_validate'],
            'exports': 'unobtrusive'
        },
        "bootstrap": {
            'deps': ['jquery']
        },
        "utils": {
            'deps': ['jquery']
        },
        "jQueryBridget": {
            'deps': ['jquery']
        },
        "imagesloaded": {
            'deps': ['jquery']
        },
        "masonry": {
            'deps': ['jquery', 'jQueryBridget', 'imagesloaded']
        },
        "jquery_mask": {
            'deps': ['jquery'],
            'exports': 'jQuery.fn.mask'
        },
        "bootstrap-dialog": {
            'deps': ['jquery', 'bootstrap']
        },
        "bxslider": {
            'deps': ['jquery']
        }
    }
});
Step 2 - Creating a block
[ContentType(DisplayName = "Require Block", GroupName = "Framework", GUID = "986db6dd-9c9d-4b9c-bd83-cff05c0f7f93", Description = "Require wrapper function definition that expose jquery, bootstrap and other libraries.($).")]
    public class RequireBlock : BlockData
    {
        [UIHint(UIHint.Textarea)]
        [CultureSpecific]
        [Display(
        Name = "Script Content",
        Description = "The script block content.",
        GroupName = SystemTabNames.Content,
        Order = 10)]
        public virtual string ScriptContent { get; set; }

        [CultureSpecific]
        [Display(
        Name = "Use Jquery",
        Description = "Include jquery.js in the require definition.",
        GroupName = SystemTabNames.Content,
        Order = 20)]
        public virtual bool UseJquery { get; set; }

        [CultureSpecific]
        [Display(
        Name = "Use Bootstrap",
        Description = "Include boostrap.js in the require definition.",
        GroupName = SystemTabNames.Content,
        Order = 30)]
        public virtual bool UseBootstrap { get; set; }

        [CultureSpecific]
        [Display(
       Name = "Use Utils",
       Description = "Include utils.js in the require definition.",
       GroupName = SystemTabNames.Content,
       Order = 40)]
        public virtual bool UseUtils { get; set; }


        [CultureSpecific]
        [Display(
           Name = "Custom Libraries",
           Description = "Include custom libraries in the require definition",
           GroupName = SystemTabNames.Content,
           Order = 50)]
        [EditorDescriptor(EditorDescriptorType = typeof(CollectionEditorDescriptor<RequireBlockCustomJavascriptLibrary>))]
        public virtual IList<RequireBlockCustomJavascriptLibrary> CustomLibaries { get; set; }
    }

    public class RequireBlockCustomJavascriptLibrary
    {
        public string Libary { get; set; }

        public string ExportSymbol { get; set; }
    }

    [PropertyDefinitionTypePlugIn]
    public class RequireBlockCustomJavascriptLibraryProperty : PropertyListBase<RequireBlockCustomJavascriptLibrary>
    {

    }
We are doing a couple of steps here
- A multiline textarea that would facilitate us to write a script within
- Property definition to use the custom class RequireBlockCustomJavascriptLibrary
Read more about PropertyDefinitionTypePlugIn
Step 3 - Create a view
@model RequireProject.Framework.Web.Models.Blocks.RequireBlock

@{
    List<KeyValuePair<string, string>> libraries = new List<KeyValuePair<string, string>>();

    if (Model.UseJquery == true)
    {
        libraries.Add(new KeyValuePair<string, string>("'jquery'", "$"));
    }

    if (Model.UseBootstrap == true)
    {
        libraries.Add(new KeyValuePair<string, string>("'bootstrap'", "Bootstrap"));
    }

    if (Model.UseUtils == true)
    {
        libraries.Add(new KeyValuePair<string, string>("'utils'", "Utils"));
    }

    if (Model.CustomLibaries != null && Model.CustomLibaries.Any())
    {
        foreach(var item in Model.CustomLibaries)
        {
            libraries.Add(new KeyValuePair<string, string>(string.Format("'{0}'", item.Libary), item.ExportSymbol));
        }
    }

    List<string> allKeys = (from kvp in libraries select kvp.Key).Distinct().ToList();
    string keys = string.Join(",", allKeys);

    List<string> allSymbols = new List<string>();
    foreach (string key in allKeys)
    {
        allSymbols.Add(libraries.FirstOrDefault(o => o.Key == key).Value);
    }
    string symbols = string.Join(",", allSymbols);

}
<script>
require(['/main.js'], function(){

require([@Html.Raw(keys)]
            , function (@Html.Raw(symbols)) {
    @Html.Raw(Model.ScriptContent)
});

});
</script>
So above here,
- We'll initially put the configuration file main.js that already has the mapping of paths where our javascript libraries are in the filesystem.
- Combining exported script references along with the scripts which a user selects via checkbox.
- We'll have an export symbol along with the references given within require block script array, You will see an example below
And that's done.
Usage
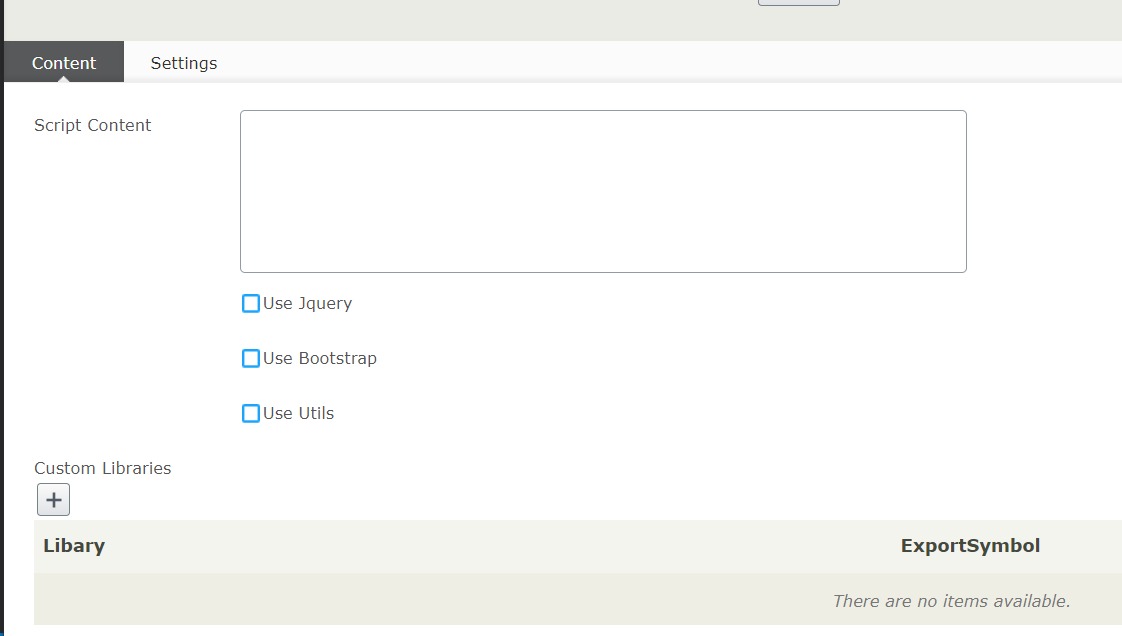
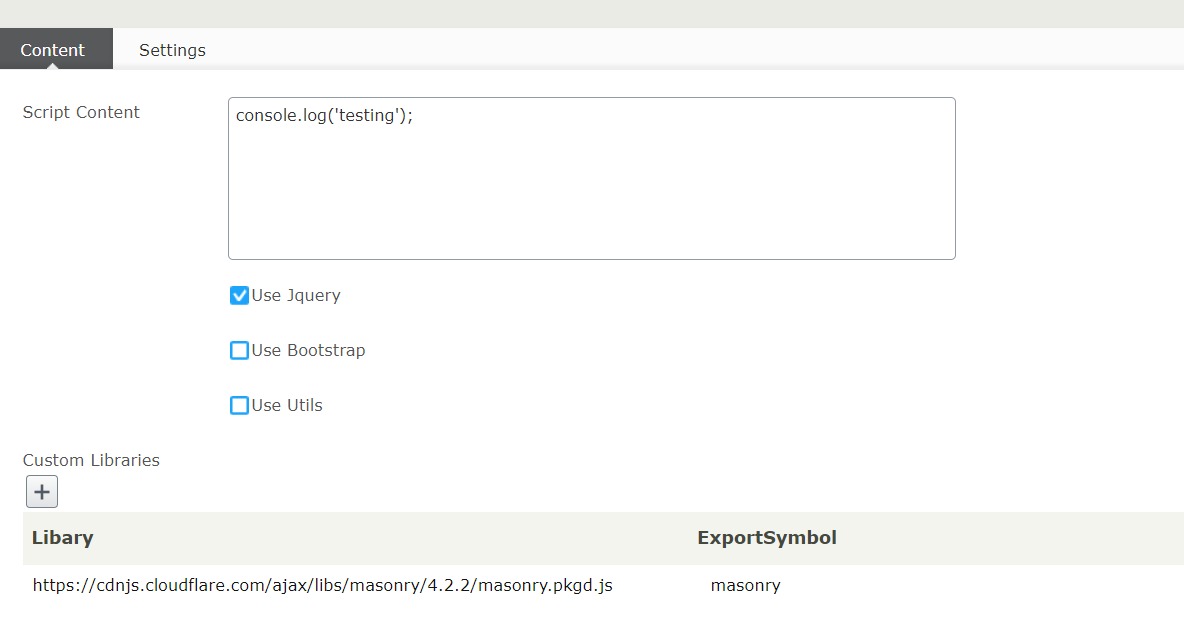
Now create a require block in episerver and do the followings, shown in below image -
Note that Custom Libraries would open a popup with 2 properties, first with path and the other one is the export symbol.
Output
Doing all above would render a script on your page (wherever you use the block in epi), shown example below -
<script>
require(['/main.js'], function(){

require(['jquery','https://cdnjs.cloudflare.com/ajax/libs/masonry/4.2.2/masonry.pkgd.js']
            , function ($,masonry) {
    console.log('testing');
});

});
</script>
Note above, Since we enabled jQuery checkbox from the page that's why it has now included the 'jquery' and the export symbol (symbol written on view).
Hope you liked it. I'm opened to your suggestion.
Have a good day!
Comments