
Deploying to Optimizely Frontend Hosting: A Practical Guide
Optimizely Frontend Hosting is a cloud-based solution for deploying headless frontend applications - currently supporting only Next.js projects. Its deployment process and core concept are familiar to .NET developers who have worked with Optimizely DXP: code is deployed via a managed pipeline, and environment setup is handled entirely by Optimizely.
Out of the box, Optimizely Frontend Hosting includes a Web Application Firewall (WAF) and CDN powered by Cloudflare, ensuring your statically generated Next.js content is delivered globally with high performance and security - no additional configuration required.
Key Characteristics
-
Next.js support only (as of now)
-
Managed environments like Test1, Test2 and Production for SaaS CMS
-
Automatic CDN and WAF configuration
-
Static site hosting
It’s worth noting that customization capabilities are currently limited. For advanced features or custom configuration (e.g., setting cache headers, redirects, custom domains, etc.), it’s recommended to contact Optimizely Support.
Compared to frontend-specialized platforms like Vercel, Optimizely Frontend Hosting doesn’t aim to deliver a full-featured developer platform. Instead, it offers a stable and integrated solution for teams already working with the Optimizely stack, looking for a reliable and supported way to host frontend applications alongside their CMS and backend infrastructure.
This makes it ideal for enterprise use cases where vendor consolidation, support unification, and environment control are priorities.
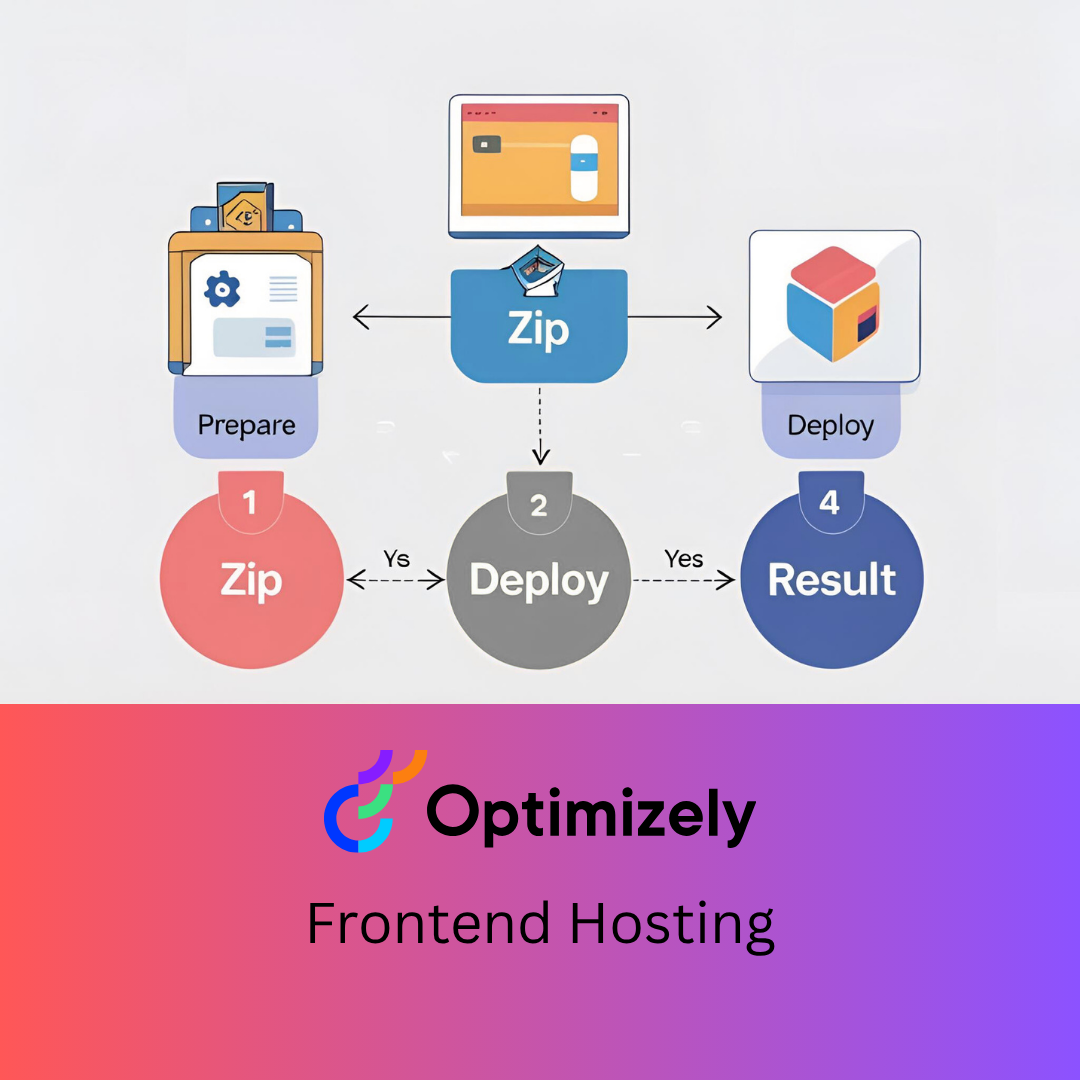
🚀 Deployment in Practice
Here’s how a typical deployment looks:
Step-by-step manual deployment (recommended to start with):
-
Open PowerShell
-
Install and import the EpiCloud module:
Install-Module -Name EpiCloud -Scope CurrentUser -Force Set-ExecutionPolicy -ExecutionPolicy RemoteSigned -Scope CurrentUser Import-Module EpiCloud -
Set credentials and environment:
$projectId = "<your_project_id>" $clientKey = "<your_client_key>" $clientSecret = "<your_client_secret>" $targetEnvironment = "Test1" # Or "Production" Or "Test2" -
Zip your Next.js application
Name format:<name>.head.app.<version>.zipExample:
optimizely-one.head.app.20250610.zip⚠️ If .head.app. is not in the filename, the deployment system will treat it as a .NET NuGet package instead.
-
Connect to EpiCloud and get the SAS URL:
Connect-EpiCloud -ProjectId $projectId -ClientKey $clientKey -ClientSecret $clientSecret $sasUrl = Get-EpiDeploymentPackageLocation -
Upload your deployment package:
Add-EpiDeploymentPackage -SasUrl $sasUrl -Path .\optimizely-one.head.app.20250610.zip -
Trigger deployment:
Start-EpiDeployment `
  -DeploymentPackage "optimizely-one.head.app.20250610.zip" `
  -TargetEnvironment $targetEnvironment `
  -DirectDeploy `
  -Wait `
  -Verbose
Automating Deployment
Once you understand the manual steps, you can fully automate the deployment process using a PowerShell script like the one below. This approach ensures repeatability and helps integrate deployment into your CI/CD pipeline.
💡 It’s highly recommended to perform a few deployments manually before automating, to build confidence and understanding. This will help later when diagnosing issues or customizing the flow.
1. .zipignore Support
To avoid bundling unnecessary files into your deployment zip package, the script supports a .zipignore file (similar to .gitignore). Place this file in your app’s root directory ($sourcePath) and list the paths or folders to exclude from the archive.
Example .zipignore:
.next
node_modules
.env
.git
.DS_Store
.vscode
⚠️ If no files remain after filtering with .zipignore, the script will exit with an error.
2. How to Customize the Script for Your Project
You need to adjust two key values in the script:
-
Path to your Next.js app:
$sourcePath = "C:\Workspace\Personal\optimizely-one"Replace this with the actual path to your project.
-
Target deployment environment:
$targetEnvironment = "Test1"Set the $targetEnvironment variable to match the environment configured in your Optimizely project.
-
For SaaS Frontend Hosting: use one of the predefined environment names, such as: "Test1", "Test2", or "Production"
-
For traditional PaaS hosting: use one of the standard Optimizely environment names: "Integration", "Preproduction", or "Production"
Make sure the name you use matches exactly what is defined in the Optimizely project portal.
-
3. Required Environment Variables
Before running the script, you need to define the following environment variables:
- OPTI_PROJECT_ID
- OPTI_CLIENT_KEY
- OPTI_CLIENT_SECRET
You can find these in the API section of the Optimizely PaaS Portal for your frontend project.

To set them temporarily in PowerShell:
$env:OPTI_PROJECT_ID = "<your_project_id>"
$env:OPTI_CLIENT_KEY = "<your_client_key>"
$env:OPTI_CLIENT_SECRET = "<your_client_secret>"
📝 Alternatively, you can add them permanently to your system environment variables.
4. How to Run the Script
-
Open PowerShell.
-
Save the script below to a .ps1 file, e.g. deploy-optimizely.ps1
-
Set the required environment variables (see above).
-
Run the script:
.\deploy-optimizely.ps1
5. PowerShell Deployment Script (with Comments)
# Check required environment variables
if (-not $env:OPTI_PROJECT_ID -or -not $env:OPTI_CLIENT_KEY -or -not $env:OPTI_CLIENT_SECRET) {
    Write-Host "Missing one or more required environment variables: OPTI_PROJECT_ID, OPTI_CLIENT_KEY, OPTI_CLIENT_SECRET" -ForegroundColor Red
    exit 1
}

# Install and import EpiCloud module
Install-Module -Name EpiCloud -Scope CurrentUser -Force -ErrorAction SilentlyContinue
Set-ExecutionPolicy -ExecutionPolicy RemoteSigned -Scope CurrentUser -Force
Import-Module EpiCloud

# Settings
$projectId = $env:OPTI_PROJECT_ID
$clientKey = $env:OPTI_CLIENT_KEY
$clientSecret = $env:OPTI_CLIENT_SECRET
$targetEnvironment = "Test1"  # Change to Production, Test2, etc. as needed

# Path to the root of your Next.js app
$sourcePath = "C:\Workspace\Personal\optimizely-one"  # <- CHANGE THIS

# Generate unique zip filename
$timestamp = Get-Date -Format "yyyyMMdd-HHmmss"
$zipName = "optimizely-one.head.app.$timestamp.zip"
$zipPath = ".\$zipName"

# Remove existing archive if present
if (Test-Path $zipPath) { Remove-Item $zipPath }

# Load .zipignore file if it exists
$zipIgnorePath = Join-Path $sourcePath ".zipignore"
$excludeRoot = @()
if (Test-Path $zipIgnorePath) {
    $excludeRoot = Get-Content $zipIgnorePath | Where-Object { $_ -and $_ -notmatch "^#" }
}
$rootExcludes = $excludeRoot | ForEach-Object { Join-Path $sourcePath $_ }

# Collect files excluding those in .zipignore
$includeFiles = Get-ChildItem -Path $sourcePath -Recurse -File | Where-Object {
    foreach ($ex in $rootExcludes) {
        if ($_.FullName -like "$ex\*" -or $_.FullName -eq $ex) {
            return $false
        }
    }
    return $true
}

if ($includeFiles.Count -eq 0) {
    Write-Host "ERROR: No files to archive after applying .zipignore filters." -ForegroundColor Red
    exit 1
}

# Prepare temporary folder for zipping
$tempPath = Join-Path $env:TEMP "nextjs-build-zip"
if (Test-Path $tempPath) { Remove-Item -Recurse -Force $tempPath }
New-Item -ItemType Directory -Path $tempPath | Out-Null

foreach ($file in $includeFiles) {
    $relativePath = $file.FullName.Substring($sourcePath.Length).TrimStart('\')
    $destPath = Join-Path $tempPath $relativePath
    $destDir = Split-Path -Path $destPath -Parent
    if (-not (Test-Path -LiteralPath $destDir)) {
        New-Item -ItemType Directory -Path $destDir -Force | Out-Null
    }
    Copy-Item -LiteralPath $file.FullName -Destination $destPath -Force
}

# Create the ZIP archive
Compress-Archive -Path "$tempPath\*" -DestinationPath $zipPath
if (-not (Test-Path $zipPath)) {
    Write-Host "ERROR: Failed to create ZIP file." -ForegroundColor Red
    exit 1
}
Remove-Item -Recurse -Force $tempPath

# Authenticate and deploy
Connect-EpiCloud -ProjectId $projectId -ClientKey $clientKey -ClientSecret $clientSecret
$sasUrl = Get-EpiDeploymentPackageLocation
Add-EpiDeploymentPackage -SasUrl $sasUrl -Path $zipPath

Start-EpiDeployment `
    -DeploymentPackage $zipName `
    -TargetEnvironment $targetEnvironment `
    -DirectDeploy `
    -Wait `
    -Verbose
⚠️ Don’t Repeat My Mistakes
Based on my own experience, here are some common pitfalls to avoid when deploying your application to Optimizely Hosting:
-
Always set all environment variables in the PaaS Portal before starting the deployment.
I’ve made the mistake of launching the deployment first and then realizing the environment variables were missing. This caused the production build to fail, as the deployment process triggers a production build command right away. Without access to required environment variables, the build will break, and the environment can remain locked for a while.
👉 Set the variables first, then deploy. -
Avoid using “Send to ZIP” on Windows.
This method wraps your files inside an additional folder, which causes the package to be invalid for Optimizely Hosting. The platform expects to find files like package.json at the root of the ZIP – it doesn’t dig deeper into nested folders. -
Make sure your ZIP includes all necessary files.
When working with frameworks like Next.js, routing is often handled via special folder structures like route groups (draft) or dynamic routes article/[slug]. If you use an automation script, sometimes files like page.tsx don't get copied correctly. Double-check your ZIP content before uploading. -
Follow the required ZIP naming convention:
Use the format: <name>.head.app.<version>.zip -
Don’t include node_modules or .next folders in your ZIP.
These are unnecessary for the deployment and will significantly increase your file size, slowing down the upload process.
Result:
After completing the above steps, the deployment process will begin. It usually takes just a few minutes to complete.
You can monitor the deployment status directly in the Optimizely admin panel, as shown in the screenshot below:
Once the deployment finishes successfully, your application will be live and ready to use. The status will indicate that the deployment was successful, confirming that everything went smoothly.

Coming Soon: GitHub CI/CD Integration
In the near future, I’ll publish a guide showing how to integrate this deployment flow with GitHub Actions, enabling automatic deployment to Optimizely Frontend Hosting on every merge to the main branch.
Stay tuned!
Comments