
Optimizely CMS Developer Tools for macOS
Running Optimizely CMS on macOS presents unique challenges, as the platform was traditionally primarily designed for Windows environments. However, with the right setup-leveraging tools like Docker, .NET Framework, VS Code, Azure Storage Explorer and Azure Data Studio developers can create a smooth and efficient workflow for building and testing Optimizely projects on macOS. This article explores the necessary configurations, step-by-step installation processes to ensure a seamless development experience.
Installation
First of all you need to install Powershell on your Mac, there are couple of different methods to install it as described here. After the installation run pwsh in macOS terminal. Majority of CLI commands in this article should be run from Powershell.
To host PaaS CMS database on macOS you need Docker Desktop. After the installation, create docker-compose-yml file with:
version: "3.9"services:mssql:image: mcr.microsoft.com/azure-sql-edge/developercontainer_name: "mssql"environment:ACCEPT_EULA: "Y"SA_PASSWORD: "MySecretPassword"ports:- "1433:1433"volumes:- ./data:/var/opt/mssql/data- ./log:/var/opt/mssql/log- ./secrets:/var/opt/mssql/secretsStart the container with SQL database by running
docker compose up command from the folder with .yml file.To run Optimizely CMS locally you also need to install .Net framework for macOS. You may also need Node.js if you have headless front-end.
If you haven't install Optimizely PaaS CMS yet, you need to run few commands from Powershell CLI:
dotnet dev-certs https --trustdotnet nuget add source http://nuget.episerver.com/feed/packages.svc -n Optimizelydotnet new -i EPiServer.Templatesdotnet tool install EPiServer.Net.Cli --global --add-source https://nuget.optimizely.com/feed/packages.svc/dotnet-episerver create-cms-database {You project}.csproj -S localhost -dn {You db name} -U sa -P {You SA password from docker-compose.yml}dotnet-episerver add-admin-user {Your project}.csproj -u [username] -e [email] -p [password] -c EPiServerDBWorking with Code
To run and debug your Optimizely CMS project use Visual Studio Code with C# Dev Kit (for PaaS CMS). Other helpful extensions are ESLint to analyze javascript code and Prettier to help keeping the code formatting clean, but you may find more extensions for your use case. TIP: can create /{Your project root}/.vscode/extensions.json file with recommented VS Code extensions for your team.
Database Management
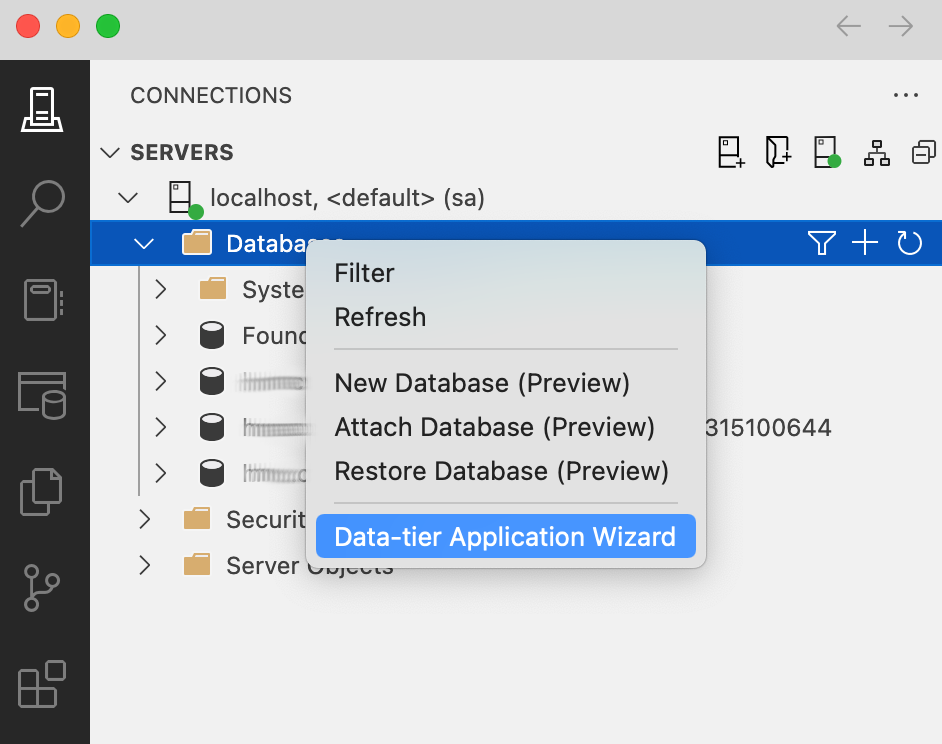
To manage local database server and migrate the database backup exported from DXP PaaS portal use Azure Data Studio for macOS with SQL Server dacpac extension.
First connect to your local SQL instance on Docker (use localhost server):
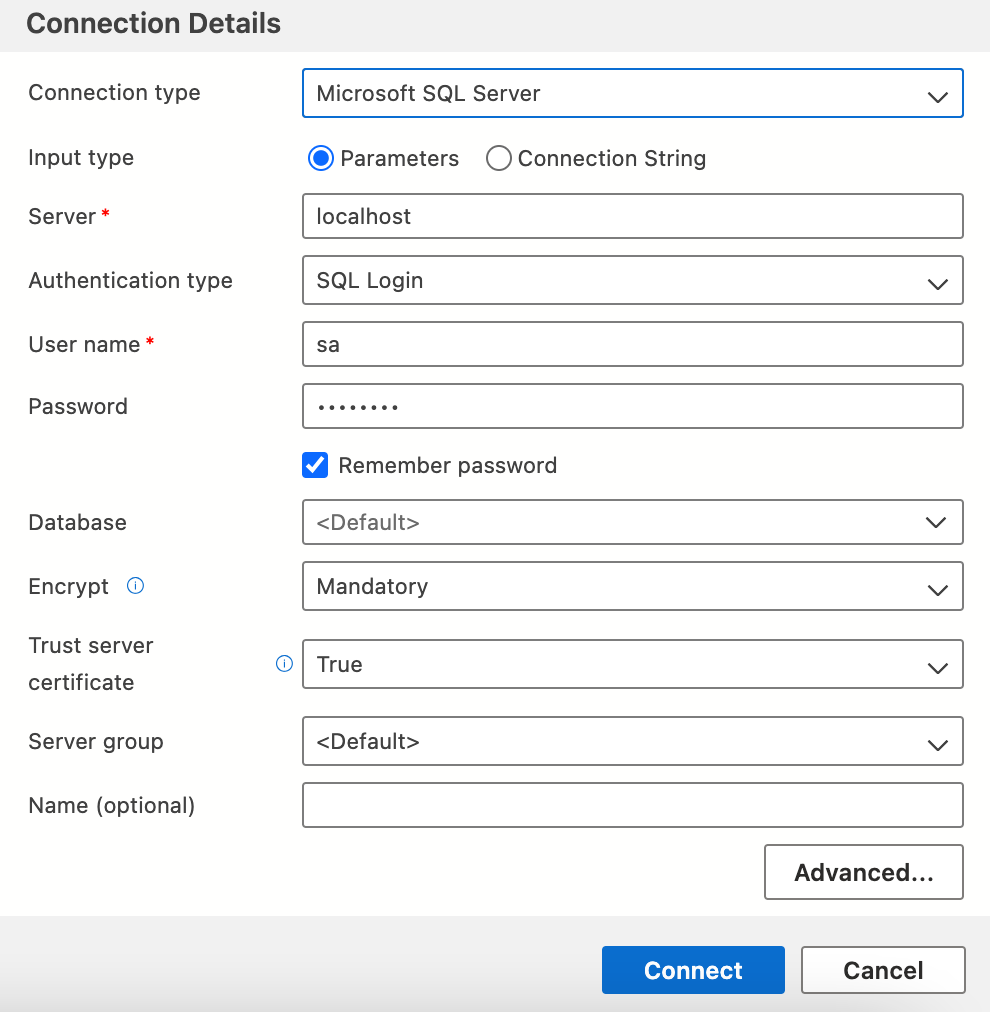
{You web project folder}\appsettings.Development.json so it points to new database name. After login to Optimizely on your local, go to settings sections: "Manage Websites" and "Open ID Connect" and update hostnames to point to your localhost.Assets Management
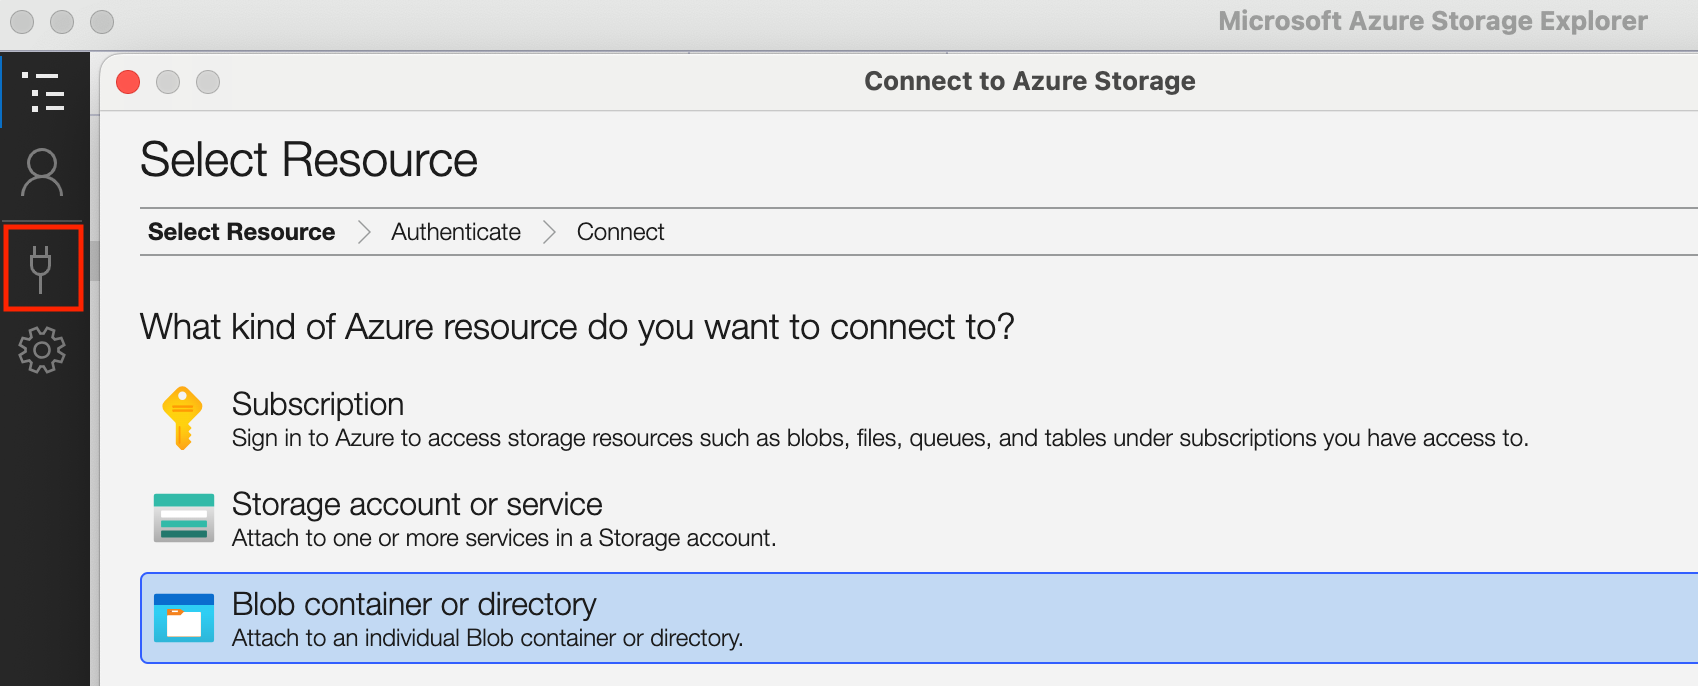
To import assets from Optimizely DXP you need Powershell CLI and Azure Storage Explorer.
Using Powershell command line install EpiCloud Powershell CLI: Install-Module -Name EpiCloud
Then connect to the cloud on DXP environment by running Powershell: Connect-EpiCloud -ClientKey {your client key} -ClientSecret {your client secret} -ProjectId {your project id} you can find all necessary connection details in PaaS Portal under API tab.
Finally generate your sasLink to media storage by calling Powershell: Get-EpiStorageContainerSasLink -Environment "{name of the envionment for example: Integration}" -StorageContainer "mysitemedia" -RetentionHours 1 | Format-Table sasLink -AutoSize -Wrap.
{You web project folder}\App_Data\blobs\.
Comments