Customizing the look and behavior in the UI for your content types
In EPiServer 7.5 we have done some additions that makes it possible to alter quite a few things regarding how your content types should look and behave in the EPiServer UI. This is done by adding something called a UI Descriptor which is responsible for instructing the EPiServer UI how you want instances of the given content type to behave. Lets start with a simple example taken from the Alloy sample project:
using EPiServer.Shell;
using EPiServer.Templates.Alloy.Models.Pages;
namespace EPiServer.Templates.Alloy.Business.UIDescriptors
{
[UIDescriptorRegistration]
public class ContainerPageUIDescriptor : UIDescriptor<ContainerPage>
{
public ContainerPageUIDescriptor()
: base(ContentTypeCssClassNames.Container)
{
DefaultView = CmsViewNames.AllPropertiesView;
}
}
}
What the code above does is configuring the following settings for the type ContainerPage:
- A custom css class used as an icon (this is used for the navigation tree as well as different listings, for instance recent items).
- Defines that the default view for items of this type should be the “All properties” view.
In the example above we are using one of the built in css classes in EPiServer but there is nothing preventing you from adding your own classes/icons (see Stefan Torstenssons blog post about how to add custom styles to the EPiServer UI http://world.episerver.com/Blogs/Stefan-Torstensson/Dates/2012/12/Adding-a-new-device-to-the-view-resolution-drop-down/).
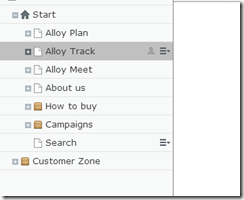
Image showing how container pages have a different icon compared to other pages.
Hint: You can use the technique above if you want to have the “All properties” view as the default view for some of your content types, for instance a content type where it makes no sense using on page editing.
Content blocks in Tiny MCE
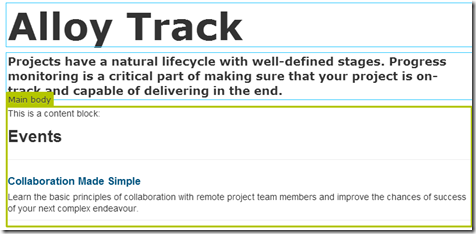
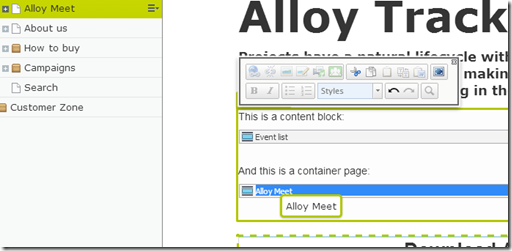
Another thing you can configure is the desired behavior when you drag-and-drop an item to a html editor. The default behavior for pages is that a link to the page is inserted to the editor. For blocks however, a “content block” is created using the same technology as for content areas. The following screen shot shows how a block is inserted to a html editor:
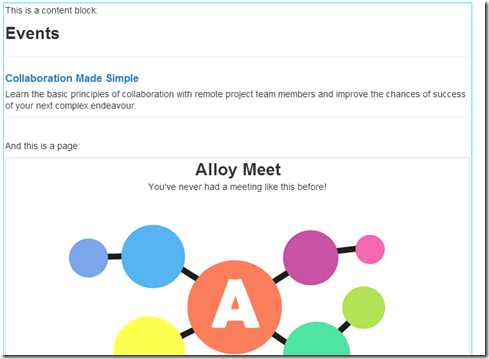
When the property is rendered to the page it will render using a partial renderer, following the same rules as for a content area:
We can change the desired behavior for what happens when dropping an item to an editor by setting the EditorDropBehavior property in the UIDescriptor. Lets try adding a ui descriptor to the SitePageData base class that all pages in the Alloy template inherits from:
using EPiServer.Shell;
using EPiServer.Templates.Alloy.Models.Pages;
namespace EPiServer.Templates.Alloy.UIExtensions
{
[UIDescriptorRegistration]
public class SitePageUIDescriptor : UIDescriptor<SitePageData>, IEditorDropBehavior
{
public SitePageUIDescriptor()
{
EditorDropBehaviour = EditorDropBehavior.CreateContentBlock;
}
public EditorDropBehavior EditorDropBehaviour { get; set; }
}
}
Now when a page is drag-and-dropped to the editor, a content block containing the page is created instead:
And this is rendered using a partial template, just as for the block:
The settings for content types are inherited so settings you define will affect all inhirited types unless there is a more specific setting defined for a sub type. We currently have no good way to alter the setting for built in EPiServer types (PageData, BlockData etc.) so if you want to change settings for all types for a given main type (all pages, all blocks etc.) I recomend using a base class in your template package as in the Alloy example.


Comments